
Last updated October 10, 2026
Free on-site gate assessment - hinges, posts, and your LiftMaster or Nice gate operator checked before anything is quoted
The assessment is free and the quote is the invoice.
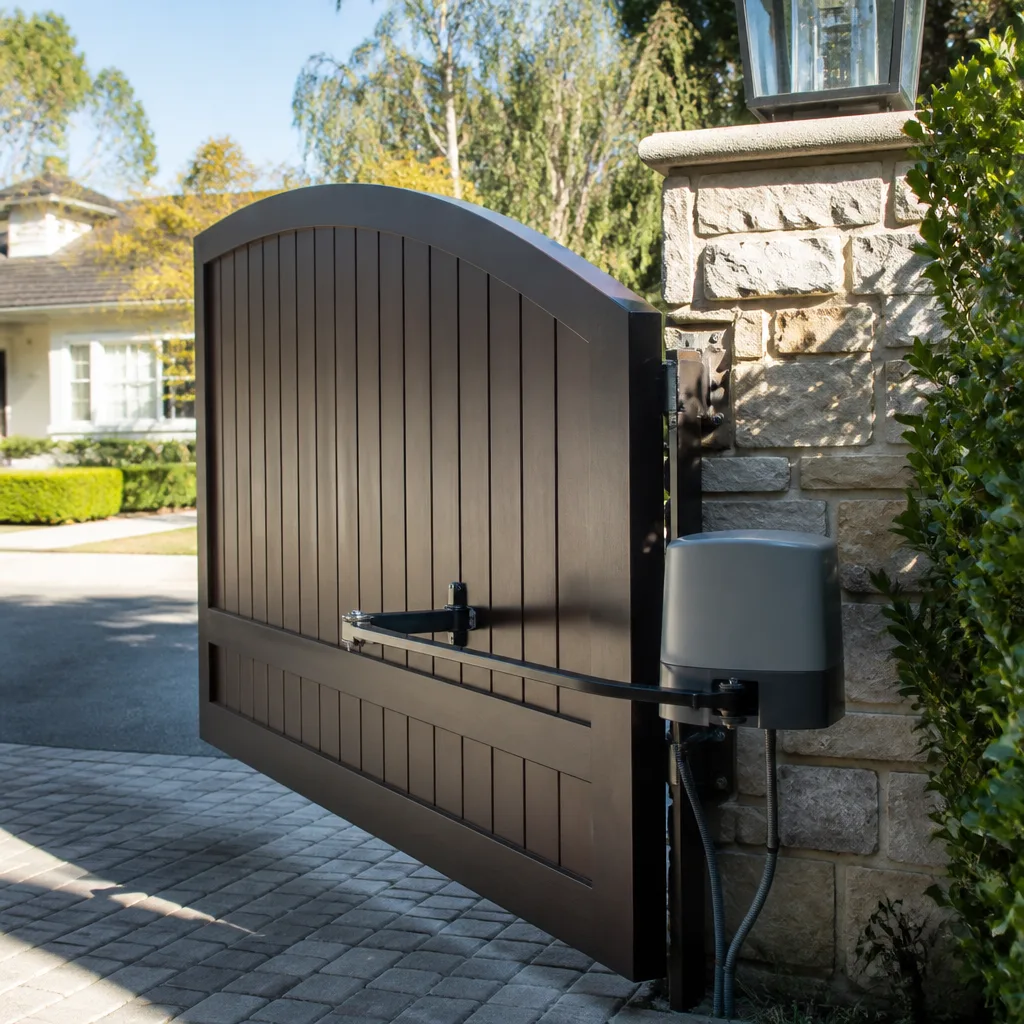
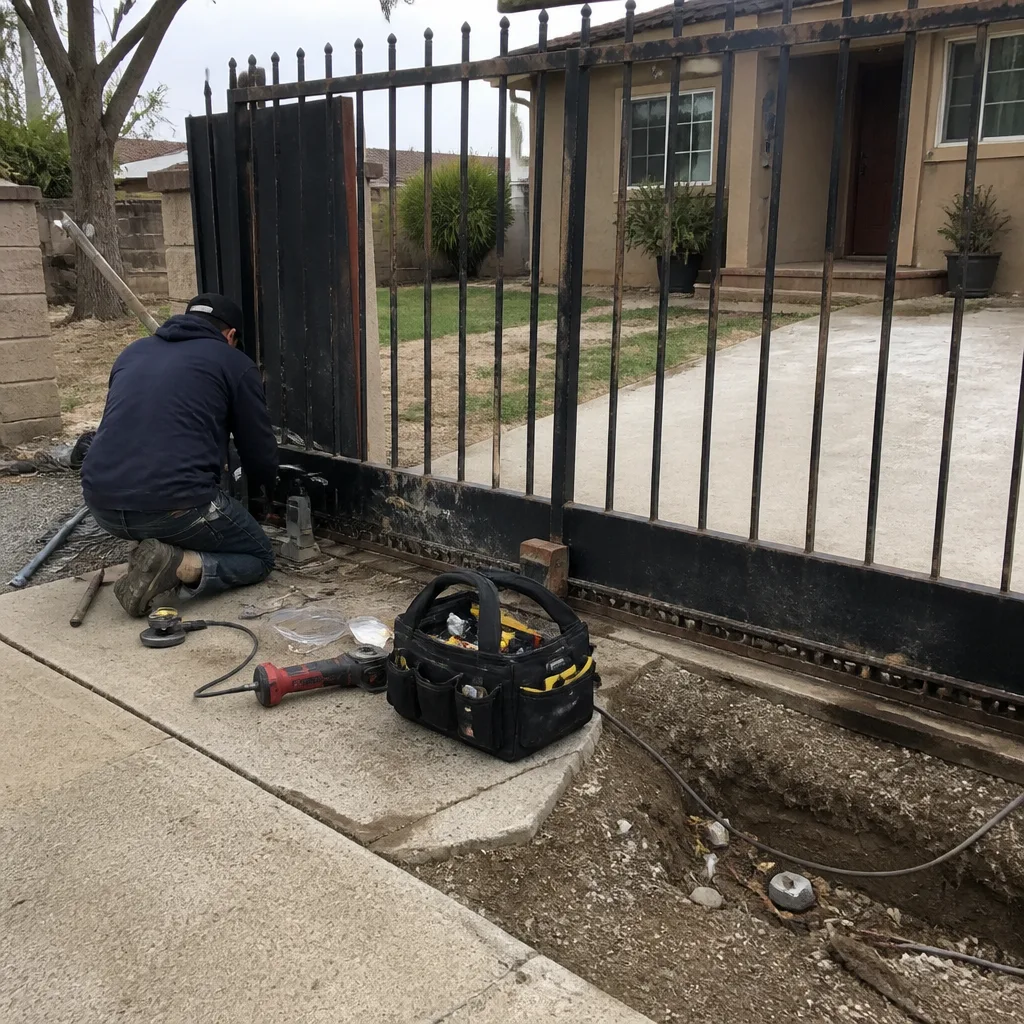 Before
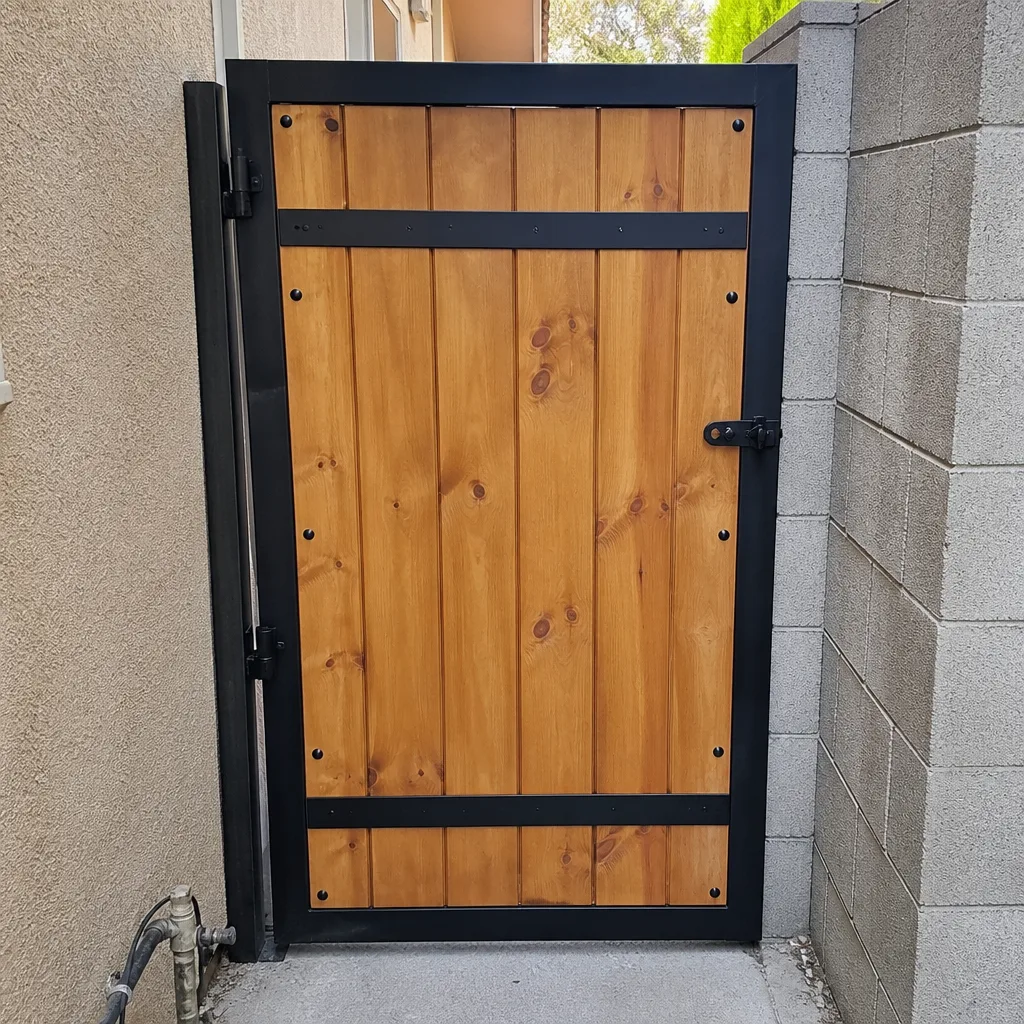 After
After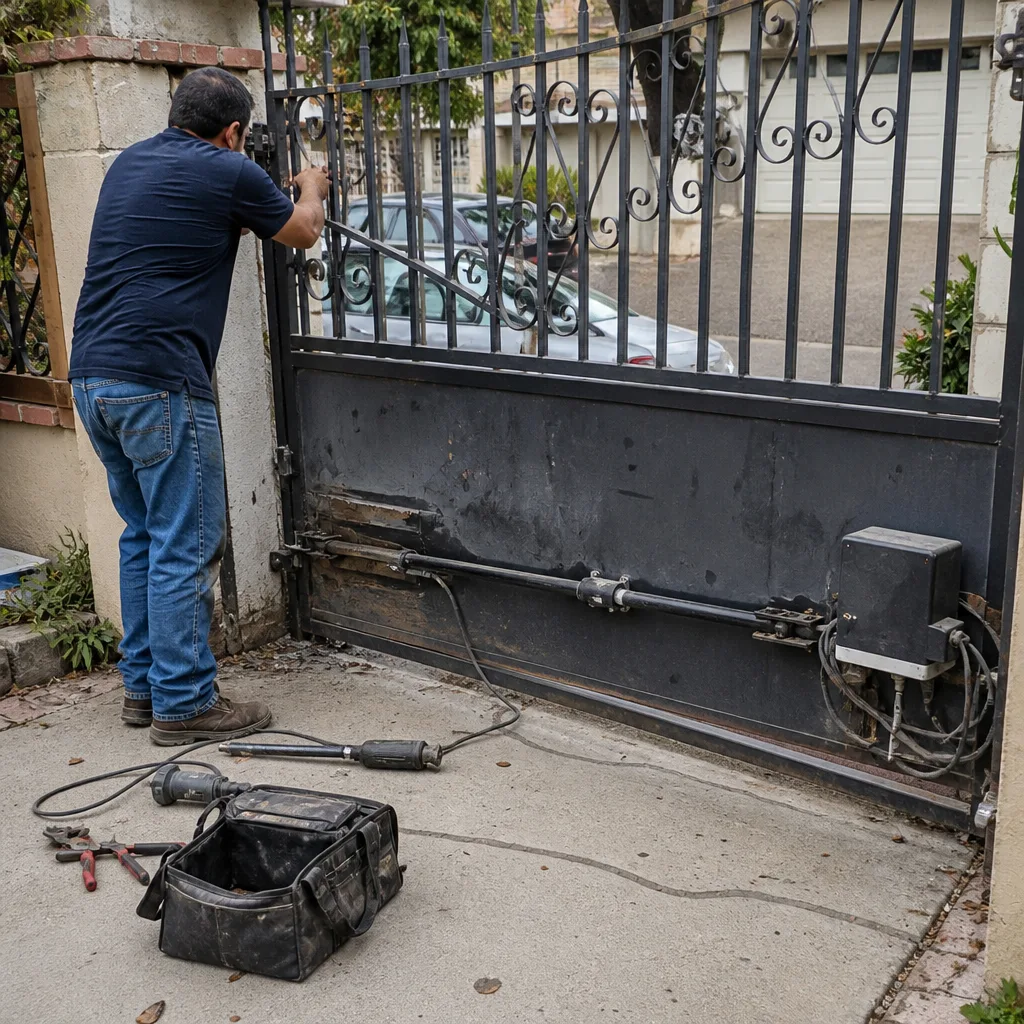 Before
 After
After Before
 After
AfterGate Installation Troubleshooting: Common Problems and How to Fix Them
A gate that binds at the same point in every cycle wasn’t manufactured wrong – it was hung wrong. In Los Angeles, we’ve measured the gap between a correctly hung gate and one that will grind through its hinges in 18 months, and it’s often less than a quarter inch of alignment. This guide maps the problems that surface in the first 90 days after Gate Installation services to their root causes, so you know whether you’re looking at a warranty correction or a bill you shouldn’t pay.
Quick Answer
Most gate installation problems trace to three categories: structural errors (post movement, sag, hinge misalignment), electrical or programming faults (motor errors, reversed polarity, incorrect travel limits), and safety system oversights (Gate Installation Warning Signs Every Homeowner Should Know include photo-eye misalignment, missing loop detectors, and more). The fix depends entirely on which category your symptom belongs to – and whether the original contractor will honor their warranty.
Table of Contents
- Post Movement in the First 90 Days
- Gate Sag After Installation
- Motor Errors Within the First Week
- Safety Sensor Failures on New Installations
- How to Document an Installation Defect in Writing
- Los Angeles Climate and Code Considerations
- Common Mistakes to Avoid
- When to Call a Professional
Post Movement in the First 90 Days
Post movement is the most expensive installation error to correct because it usually means removing the gate, extracting the post, and starting over. In our experience across Los Angeles, from the clay-heavy soils of the San Fernando Valley to the sandy loam around Long Beach, posts that move within 90 days almost always share one cause: the concrete footing didn’t cure under load-free conditions.
Here’s what happens. A gate post needs a concrete footing that reaches below the frost line and cures without the gate hanging from it. When a contractor installs the post and hangs the gate the same day, the gate’s weight settles the concrete while it’s still plastic. The post leans. The gate binds. Six months later, the homeowner is told it’s “normal settling.”
It isn’t. Normal settling is measured in sixteenths of an inch over years, not inches over weeks.
How to Measure Post Movement
- Place a 4-foot level against the post on two perpendicular faces.
- Note the bubble position. A plumb post centers the bubble.
- Measure the gap between level and post at the top – this is your lean in inches.
- Check again after a rain cycle. Movement that accelerates indicates footing failure, not soil compression.
The correction for a leaning post is full replacement: dig out the footing, pour new concrete, and let it cure 72 hours minimum before hanging the gate. A contractor who suggests shimming the hinges or trimming the gate is treating the symptom. Demand footing replacement.
In hillside areas like Laurel Canyon or the Hollywood Hills, post movement often signals inadequate depth. Los Angeles building code requires footings 36 inches deep for freestanding walls and gates over 6 feet, but many installers stop at 24 inches to save labor. If your post is on a slope, the downhill side of the footing must step down to undisturbed soil – a detail we see skipped on retrofit jobs where the original gate lasted 20 years because it was installed to older, deeper standards.
Gate Sag After Installation
Gate sag has two distinct mechanical causes, and confusing them leads to the wrong repair. A gate that sags because the frame wasn’t properly braced needs structural reinforcement. A gate that sags because a hinge was set at the wrong height needs hinge relocation. The diagnostic takes five minutes; the wrong fix wastes hundreds of dollars.
Frame Bracing Failure
Metal gates need diagonal bracing welded or bolted into the frame to transfer the gate’s weight to the hinge side. Wood gates need a compression brace running from the top hinge corner to the bottom latch corner. When this brace is missing, undersized, or installed in tension (the wrong direction for wood), the free corner drops over time.
Check this: open the gate to 90 degrees and sight along the top rail. If the latch side is lower than the hinge side, and the frame itself is visibly twisted or the welds are cracking, you have a bracing problem. The fix is adding or replacing the brace – not adjusting the hinges, which will only bind the gate against the post.
Hinge Height Error
When the top hinge is set even slightly lower than it should be, gravity pulls the latch side down and the top rail tilts. The frame itself stays square; the gate just hangs crooked. Sight along the top rail again – if it’s straight but sloped, measure hinge heights with a tape. They should match within 1/8 inch. In Los Angeles, where many installations use adjustable J-bolt hinges, the fix is a wrench turn. On fixed-pin hinges, it’s removal and re-weld.
We’ve seen this exact error on new installations in Pasadena and Santa Monica, where contractors reused old post holes without checking plumb. The old gate fit the old lean. The new gate, built square, reveals the problem immediately.
Motor Errors Within the First Week
A motor that throws errors in its first week of operation is almost never defective. It’s misconfigured, miswired, or mismatched to the gate’s physical load-issues covered in our Gate Motor Repair Maintenance Schedule: What to Do and When. Knowing how to read the error pattern saves you from the contractor who wants to swap the unit and bill for a “defective part.”
Programming Errors
Every gate operator – whether it’s a Linear swing arm, a Viking slide motor, or a Ghost Controls solar unit – needs its travel limits and force settings programmed to the specific gate. Travel limits tell the motor where the open and closed positions are. Force settings tell it how hard to push before reversing on an obstruction.
Symptoms of bad programming:
- The gate stops short of full open or closed position – travel limit error.
- The gate reverses immediately on contact with the stop – force setting too low.
- The gate slams the stop – force setting too high, which also voids UL 325 safety compliance.
Programming requires the installation manual and the control board access code. If your contractor didn’t leave the manual or didn’t walk you through the settings, that’s an incomplete commissioning, not a defective motor.
Wiring Errors
Reversed polarity on the power feed or a loose terminal on the control board produces intermittent faults that look like component failure. Check the LED diagnostic on the motor – most Linear and Viking units flash specific codes. A steady error that clears when you wiggle the terminal block is a wiring fault, not a board fault.
In Los Angeles, where many installations include solar charging or battery backup, under-specified wire gauge between panel and motor causes voltage drop errors that read as “low battery.” The fix is heavier gauge wire or shorter run, not a new battery.
Genuine Defects
A motor that hums but doesn’t move, smells of burning electronics, or throws a board error immediately on first power-up may be genuinely defective. These are rare – we see perhaps two per hundred installations – and they’re identifiable because the symptom appears before any programming attempt. Document this with photos of the error code and a dated service request to the contractor.
Safety Sensor Failures on New Installations
Photo-eye misalignment is the most common commissioning oversight we find on new installations in Los Angeles. The UL 325 standard requires that automatic gates reverse on obstruction, and photo eyes are the primary method for swing gates. If they’re not aligned, the gate won’t close – or worse, it’ll close without reversing.
Verifying Alignment Without Specialized Tools
- Clean both lenses with a dry cloth. Dust from Santa Ana winds or construction nearby is enough to scatter the beam.
- Look for the indicator LED on each eye. One transmits, one receives. The receiver LED should glow steady when the beam is unobstructed.
- If the LED flickers, the eyes are misaligned. Loosen the mounting bracket, aim the receiver directly at the transmitter (most have a sight line or lens pattern to guide you), and tighten.
- Test by passing a cardboard box through the beam during close cycle. The gate must reverse within 2 seconds.
Photo eyes must be mounted 6 inches maximum above grade – any higher, and a child or pet passes under the beam. We see this violated on hillside driveways where the installer mounted eyes level with the post top to avoid trenching for cable. It’s wrong, and it’s a liability exposure.
Loop detectors, the in-ground alternative used with slide gates and some swing operators, fail when the saw cut for the loop wire fills with conductive debris or the loop wire itself fractures from vehicle weight before the sealant cures. A loop detector that works intermittently usually has a cracked loop, not a bad board.
How to Document an Installation Defect in Writing
A warranty correction request that creates a paper trail follows a specific structure. Vague complaints get vague responses. Precise documentation forces precise answers – and protects you if the contractor disputes the claim.
The Structure
- Reference the contract. Cite the installation date, contract number, and the specific warranty clause that applies. Most gate installation contracts in Los Angeles carry 90-day to 1-year workmanship warranties.
- State the symptom with measurements. “Gate binds at 18 inches from closed position” is better than “gate doesn’t work right.” Include your level readings, gap measurements, and error codes.
- State the required correction. Specify footing replacement, hinge relocation, reprogramming – not “fix it.”
- Set a response deadline. 10 business days is standard for non-emergency defects.
- Send certified mail and email. The certified receipt is your proof of notice. The email creates a searchable record.
Keep copies of all correspondence, your original contract, and any payments. If the contractor is licensed in California, the CSLB accepts complaints with this documentation. If they’re unlicensed, you have additional leverage – unlicensed contractors in Los Angeles cannot legally enforce payment for work over $500, and their “warranty” may be unenforceable.
Photograph the defect from multiple angles, with a tape measure or level in frame for scale. Date-stamp the images. We’ve reviewed documentation from homeowners in Venice and Silver Lake who won CSLB judgments on the strength of measured, photographed, dated records.
Los Angeles Climate and Code Considerations
Los Angeles gate installations face conditions that inland or northern California contractors don’t plan for. The marine layer deposits moisture on metal components that inland installers spec for dry climates. Santa Ana winds exert lateral load that exceeds the static pressure calculations used in calmer regions. And the city’s grading and drainage requirements affect how water flows around gate footings.
Coastal installations from Malibu to San Pedro need galvanized or stainless hardware – standard zinc-plated hinges rust through in 3-4 years of salt air. Inland, in the San Gabriel Valley, thermal expansion is the bigger issue: a 16-foot aluminum gate expands roughly 3/8 inch between a 50°F morning and a 95°F afternoon. If the installer didn’t leave clearance at the latch post, the gate binds on hot days and gaps on cold ones.
Los Angeles Department of Building and Safety requires permits for gates over 6 feet in height and for any automatic gate operator. The permit inspection verifies UL 325 compliance, photo-eye height, and entrapment protection. A contractor who suggests skipping the permit to save time is exposing you to a red-tag order and a forced removal.
On hillside properties, which cover much of the city, the Los Angeles hillside grading ordinance requires that any excavation for footings include drainage to prevent subsurface water accumulation. A post that leans after the first rain may indicate a grading violation, not just bad concrete.
Common Mistakes to Avoid
- Accepting “normal settling” for post movement under 1/2 inch. No post should lean measurably in 90 days. Settling is a footing failure, and the contractor’s warranty covers it.
- Letting a contractor shim hinges instead of replacing a leaning post. Shims transfer load unevenly and accelerate hinge wear. Demand the structural fix.
- Assuming a motor error means a defective unit. Programming and wiring errors outnumber genuine defects by roughly 20 to 1. Insist on diagnostic before replacement.
- Installing photo eyes above 6 inches to avoid trenching. This violates UL 325 and creates liability if a child is injured. The trench is cheaper than the lawsuit.
- Skipping the permit to save time. LADBS red-tags unpermitted automatic gates. The removal and re-permitting costs more than doing it right the first time.
- Using a generalist contractor for automatic gate work. Gate operators require specific training. A contractor who “does gates too” often lacks the control-board knowledge to commission a Linear or Viking unit correctly.
- Paying for a “service call” to correct an installation error. Workmanship warranty covers defects in the original installation. Document the defect and demand warranty service.
When to Call a Professional
Call a gate specialist when the defect involves structural load, electrical safety, or warranty enforcement you can’t resolve directly with the original installer. Post movement, motor board errors you can’t clear with the manual, and safety system failures all require trained diagnosis.
Carver Gate Repair offers free estimates in Los Angeles. Our technicians are background-checked, uniformed, and trained on nine gate-motor brands including Linear, Viking, and Ghost Controls. Every repair carries a written price before work starts and our 365-Day Done Right Promise. Call (469) 530-2485.
Frequently Asked Questions
Correcting installation errors typically runs $400 – $1,200 for post replacement or hinge relocation, $200 – $500 for motor reprogramming or wiring correction, and $150 – $350 for photo-eye realignment or loop repair. If the original contractor won’t honor their warranty, you’re paying twice for one job – which is why documentation matters. Call (469) 530-2485 for a written price on your specific correction.
No. A post that has leaned in its footing has either broken its concrete bond or rotated in uncompacted soil. Straightening it temporarily with a jack or puller doesn’t restore the footing integrity. The only durable fix is extraction and replacement with proper concrete cure time.
The force setting is too low, or the travel limit is set short of the physical stop. Both are programming errors from incomplete commissioning. Check your motor manual for the force adjustment procedure, or call the installer to complete the setup they were paid for.
Minimum 72 hours in Los Angeles conditions, longer if the footing is over 24 inches deep or if rain occurred during the pour. A contractor who hangs a gate the same day the concrete is poured is creating a future failure.
UL 325 is the safety standard for automatic gate operators. Violations – missing photo eyes, incorrect mounting height, no entrapment alarm – can result in failed inspection, insurance denial if someone is injured, and forced removal by LADBS. Compliance isn’t optional.
Defective motors show symptoms before any programming attempt: burning smell, no movement with power applied, or immediate board error on first startup. Motors that worked briefly then developed problems are almost always programming or wiring faults. Document the exact error code and sequence before calling for service.
The Bottom Line
Gate installation problems in the first 90 days are rarely mysteries. They’re predictable consequences of specific errors: posts hung before concrete cures, frames braced wrong or not at all, motors programmed from default settings instead of gate measurements, and safety sensors aimed by eye instead of verified with indicators. The homeowner who can name the error and cite the measurement has the standing to demand warranty correction. The homeowner who accepts “normal settling” pays for the same work twice. Document everything. Measure everything. And when the original installer won’t make it right, call a specialist who will-or explore our more guides & resources to protect yourself.
Written by Lonnie Burke, Owner at Carver Gate Repair, serving Los Angeles since 2008.