
Last updated October 10, 2026
Free on-site gate assessment - hinges, posts, and your LiftMaster or Nice gate operator checked before anything is quoted
The assessment is free and the quote is the invoice.
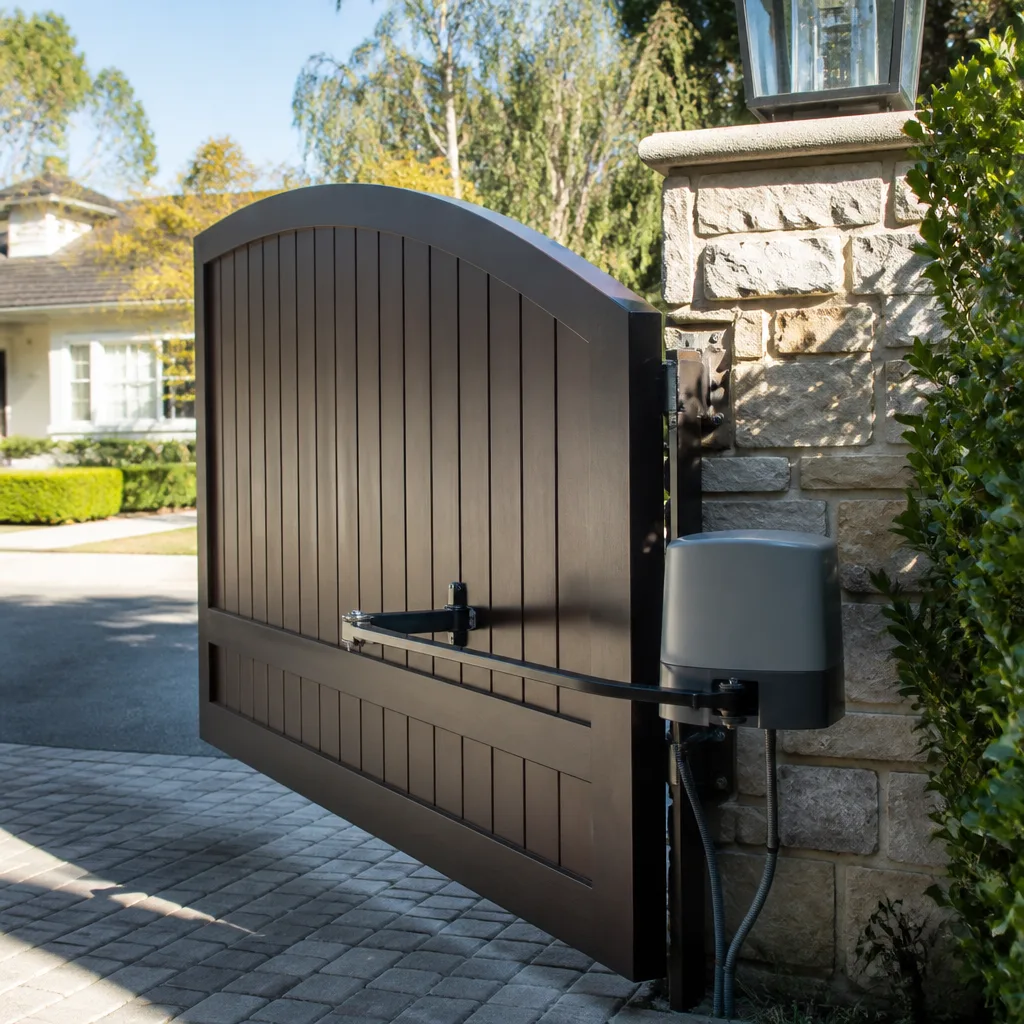
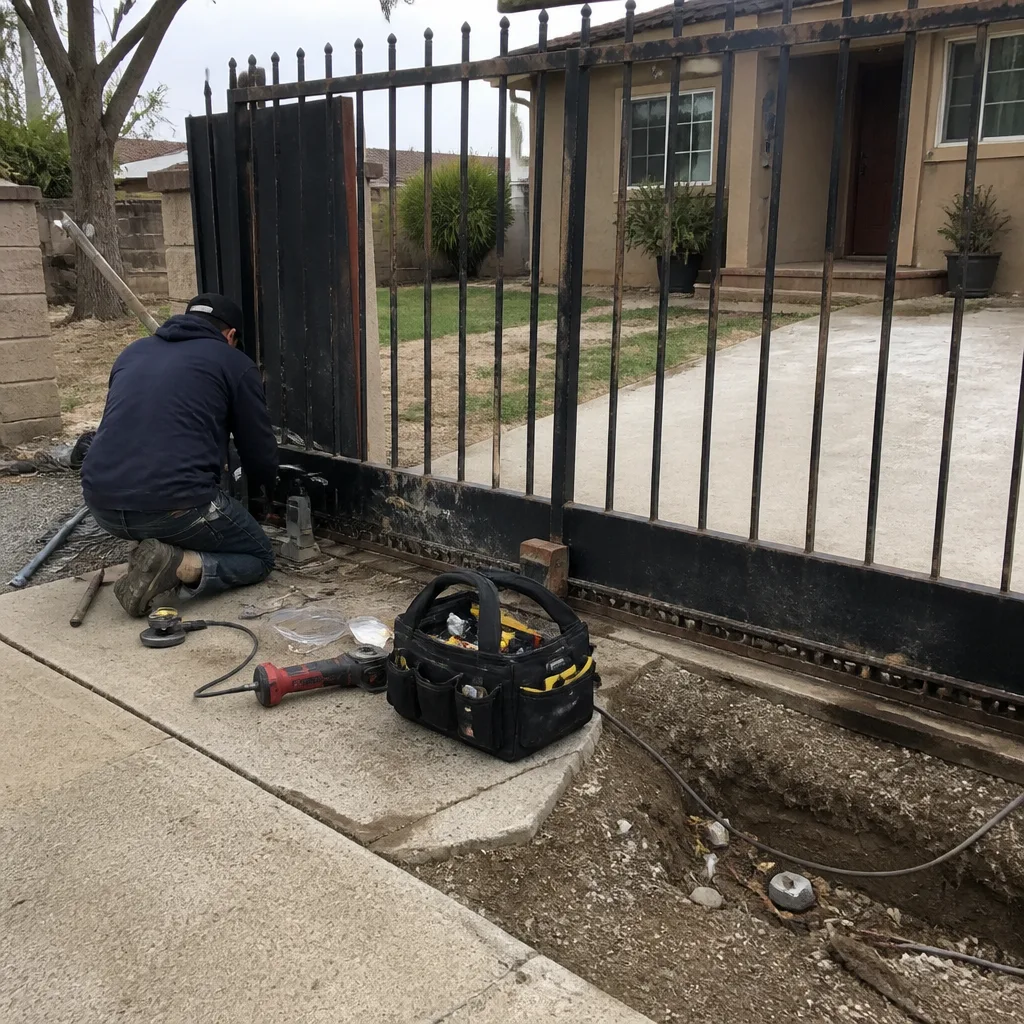 Before
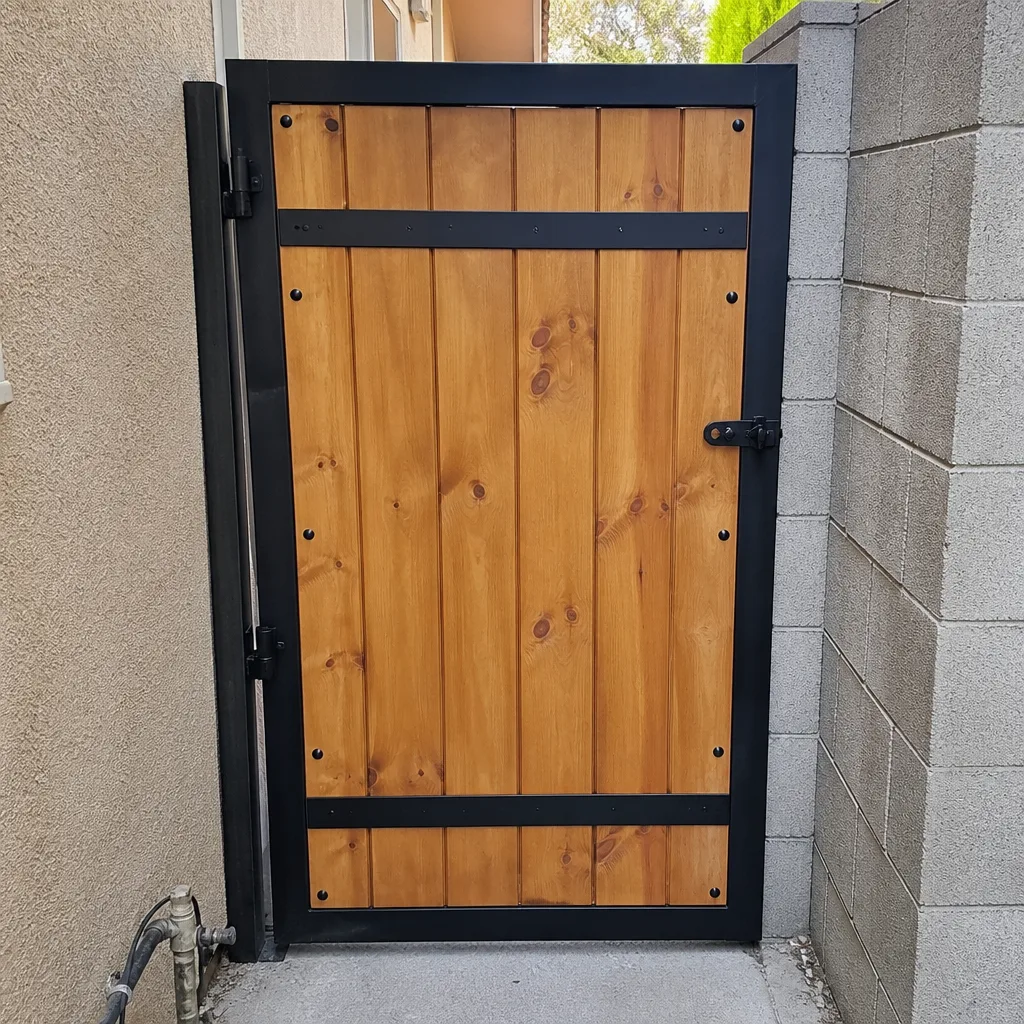 After
After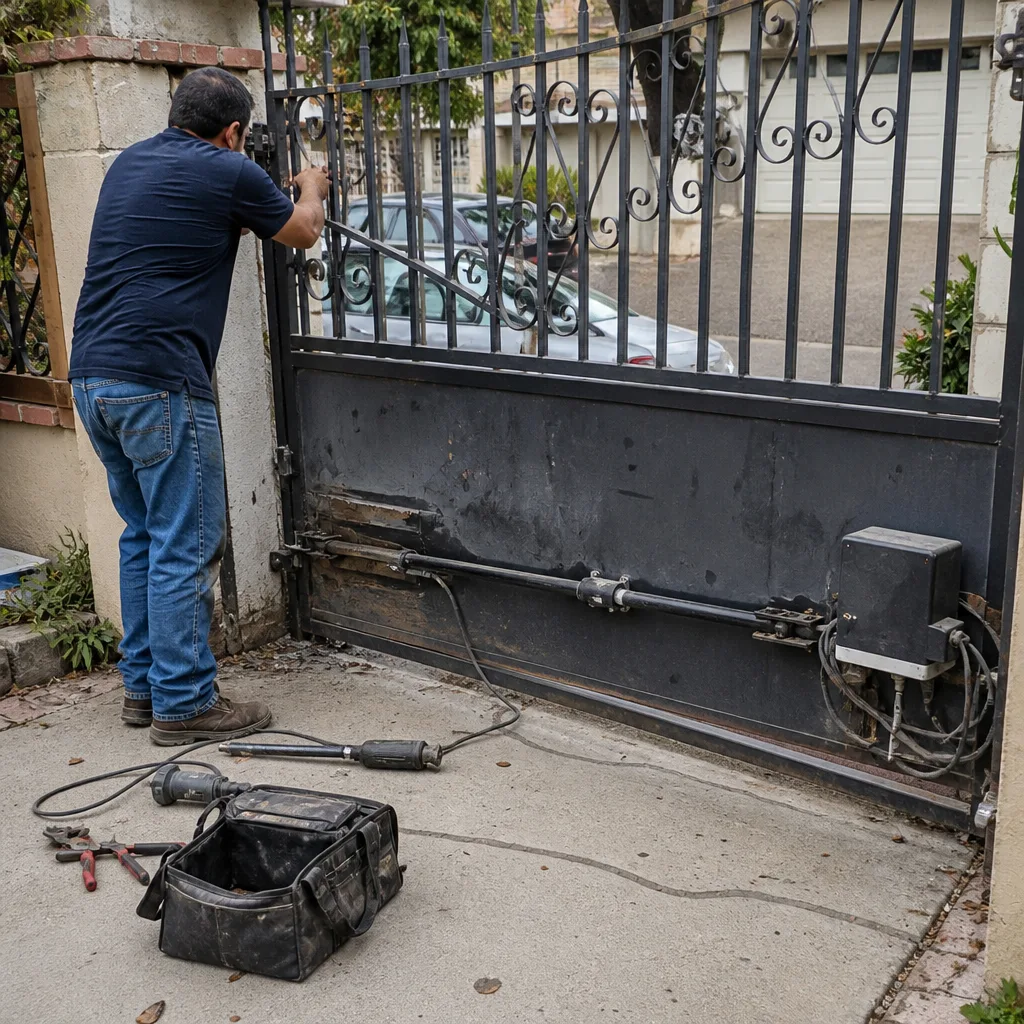 Before
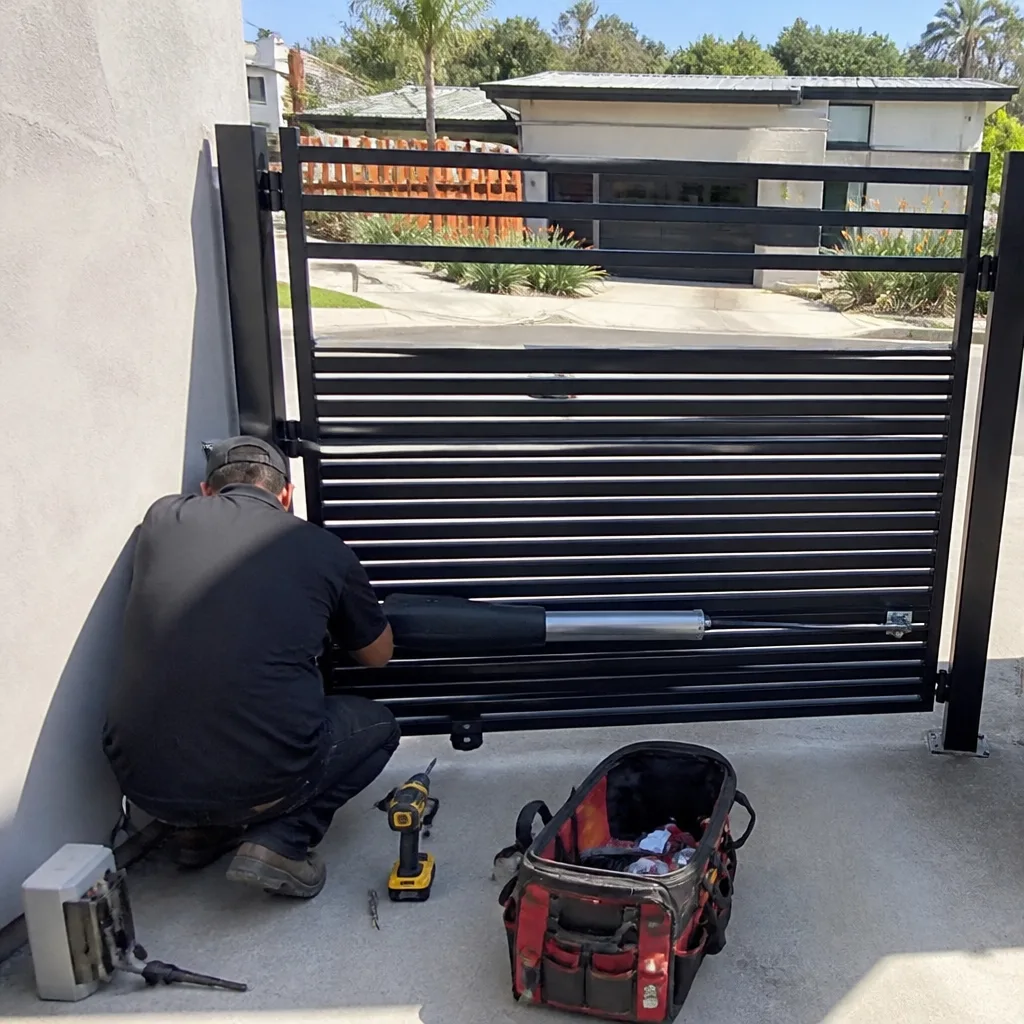 After
After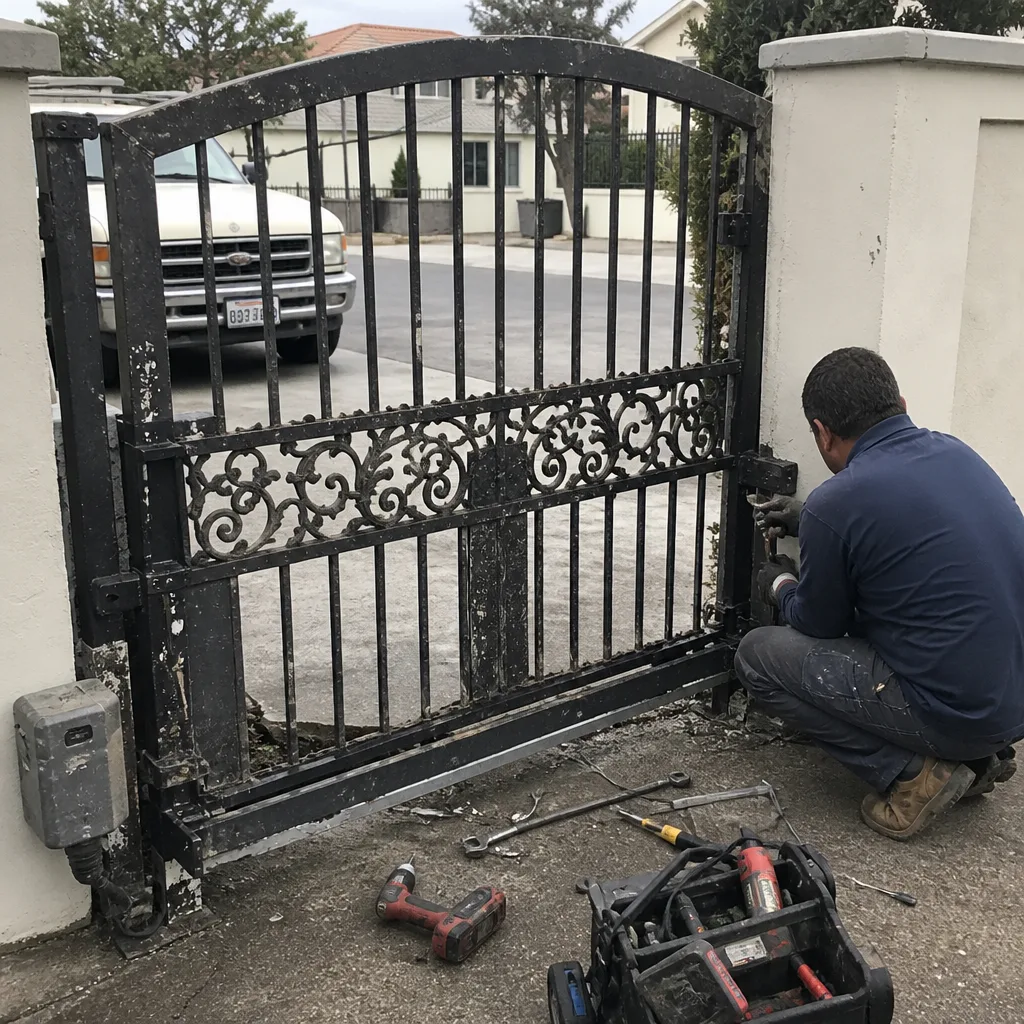 Before
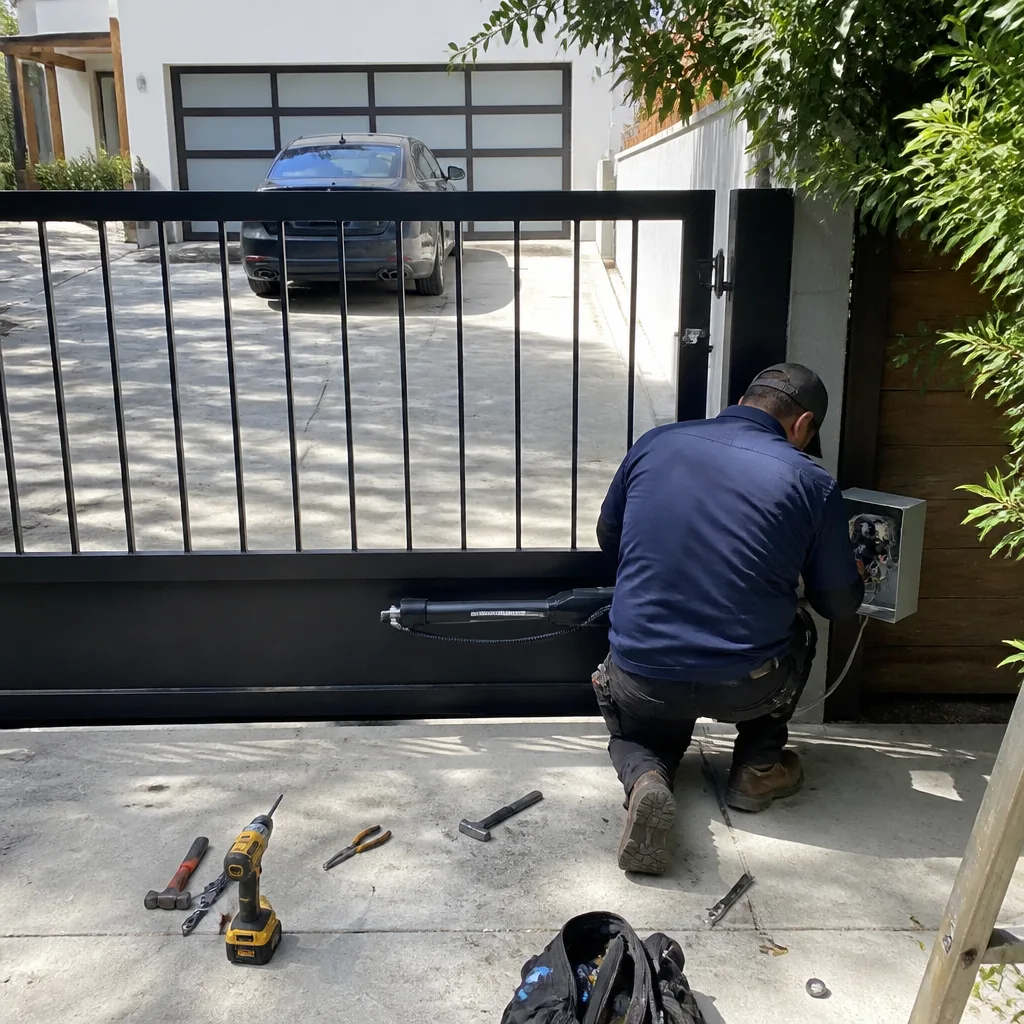 After
AfterDIY vs Professional Gate Installation: What’s Safe to Do Yourself
Hanging a manual pedestrian gate on an existing post is a realistic weekend project for someone comfortable with a level and a drill. Running a 120-volt circuit to a driveway operator, setting the posts in concrete, and programming entrapment protection is three separate skilled trades collapsed into one job – and treating it like one is how people end up with a gate that fails a Los Angeles home inspection. In this guide, we’ll break down exactly which parts of Gate Installation services sit in the homeowner’s wheelhouse and which require a licensed electrician, a concrete crew, or a gate specialist trained on UL 325 safety standards. We’ve been called out to fix enough DIY jobs in the San Fernando Valley and Pasadena to know where the line is.
Quick Answer
A skilled homeowner can safely install surface-mounted hardware, program a pre-wired operator, and replace photo-eye sensors on an existing system. Anything involving post setting in concrete, 120-volt electrical circuits, or UL 325 entrapment protection programming on a new operator should be handled by licensed professionals. Splitting the project – hiring out structural and electrical work while managing hardware and programming yourself – is often the most cost-effective approach, though DIY vs Professional Gate Repair: What’s Safe to Do Yourself can help you decide where to draw the line.
Table of Contents
- Gate Installation Collapses Three Trades Into One
- What a Capable DIYer Can Realistically Handle
- Post Setting: The Highest-Stakes DIY Decision
- The Electrical Licensing Reality in California
- UL 325 Compliance Is Non-Negotiable
- How to Split the Project Scope to Manage Cost
- Common Mistakes to Avoid
- When to Call a Professional
- Frequently Asked Questions
- The Bottom Line
Gate Installation Collapses Three Trades Into One
Most home improvement projects map to one trade. Kitchen backsplash? Tile. New light fixture? Electrical. Gate installation sits at the intersection of civil work, electrical work, and safety compliance – and most homeowners are qualified for exactly one of those three, if any.
The civil component is post setting. A driveway gate in Los Angeles needs posts set below the frost line plus a load calculation for the gate’s weight and wind exposure. The Santa Ana winds that tear through the San Gabriel Valley every fall don’t negotiate with shallow footings. We’ve replaced posts in Altadena that were set 18 inches deep in sandy soil – the gate lasted one wind season before it leaned like a drunk at closing time.
The electrical component ranges from low-voltage wiring for safety edges and loop detectors to full 120-volt circuits feeding the operator. A LiftMaster or FAAC swing operator might draw 5 – 7 amps at startup. That circuit needs proper grounding, GFCI protection where required, and enough headroom that the motor doesn’t brown out when it hits resistance.
The safety compliance component is UL 325, the standard governing automatic gate entrapment protection. It specifies where photo eyes go, how the auto-reverse function must behave, and what documentation the installer must leave with the homeowner. Self-installed operators often skip the obstruction test entirely. We’ve found operators in Beverly Hills running with the safety features jumpered out – the homeowner didn’t know, and the installer (a handyman from a gig app) didn’t care.
Understanding which of these three domains you actually own is the first step to deciding what’s DIY-appropriate.
What a Capable DIYer Can Realistically Handle
Not every part of gate installation requires a license. Here are the tasks we’ve seen homeowners execute competently, provided they read the manual and own the right tools.
Programming a Pre-Wired Operator
If an electrician or gate technician has already pulled wire and terminated it at the operator, a patient homeowner can handle the programming sequence. This means setting the open and close limits, adjusting the force sensitivity, and pairing remote controls. Every major brand – LiftMaster, Linear, BFT – publishes the programming steps in the installation manual. The key is having the wiring already landed correctly. If the limit switch inputs aren’t wired right, you’ll program the operator to run into the gate post.
Installing Surface-Mounted Hardware
Gate handles, latches, and decorative hardware that bolt through the gate frame are straightforward. Use a step bit for clean holes in metal gates, and always deburr. For wood gates, pre-drill to prevent splitting. We’ve seen handsome installations in Los Feliz where the homeowner sourced custom bronze hardware and mounted it precisely – the gate swings smooth and looks right.
Replacing Photo-Eye Sensors on an Existing System
If your gate already has photo eyes and one gets knocked out of alignment or fails, replacement is usually plug-and-play. The wiring is low-voltage, so there’s no shock hazard. The critical step is alignment – the transmitter and receiver must see each other cleanly across the opening. A small level helps. Test the gate’s auto-reverse after installation by breaking the beam with a cardboard box while the gate is closing.
Mounting Keypads or Intercoms on Already-Wired Columns
Surface-mounted keypads and intercom stations that connect with low-voltage wire to an existing operator are manageable. The work is mechanical – drilling mounting holes, running conduit if needed, and landing wires on the terminal block. Don’t bury splices underground; use weatherproof junction boxes. Los Angeles gets enough winter rain that a taped wire nut in a planter box will fail inside two years.
Tasks to Avoid Without Training
- Welding or cutting gate frame members – structural integrity depends on proper penetration and alloy matching
- Installing in-ground loop detectors – requires saw-cutting asphalt or concrete and sealing the slot correctly
- Adjusting hydraulic operators on FAAC or BFT systems – pressure settings affect both speed and safety force
- Replacing torsion or extension springs on manual gates – stored energy can cause serious injury
Post Setting: The Highest-Stakes DIY Decision
Get the posts wrong and nothing else matters. A gate post is a cantilevered column carrying hundreds of pounds of dynamic load, often in sandy or expansive soil. In Los Angeles, the minimum depth is typically 36 inches below grade, but that’s a floor, not a recommendation. The actual calculation considers:
- Gate weight and width. A 16-foot iron driveway gate might weigh 400 – 600 pounds. The post sees that as a lever arm multiplied by the distance from the hinge to the center of mass.
- Soil type. The clay-heavy soils in parts of the San Fernando Valley hold posts differently than the sandy loam in Pacific Palisades. Expansive clay swells when wet and shrinks when dry, working posts loose over seasons.
- Wind load. Los Angeles County design wind speeds range from 85 to 110 mph depending on exposure. A solid-panel gate catches wind like a sail. The post footing must resist overturning.
- Frost heave. While Los Angeles doesn’t see deep frost, the code still references frost lines for completeness. More relevant is seasonal moisture variation causing soil movement.
The concrete matters too. A common mistake is using bagged concrete at a 4:1 ratio and pouring it dry into the hole, then adding water from the top. That creates weak, honeycombed concrete at the base where the load concentrates. Proper practice is a 3:1 mix, poured wet, vibrated or rodded to eliminate voids, and allowed to cure seven days minimum before hanging the gate. We’ve pulled posts in Encino that were set in dry concrete with a garden hose sprayed on top – the post wobbled in its own footing.
Post diameter is another failure point. A 4-inch square tube might carry a 6-foot pedestrian gate. A 16-foot driveway gate in wrought iron needs 6-inch minimum, often 8-inch, with wall thickness of .250 or greater. The post isn’t just holding weight; it’s resisting the racking force every time the gate starts and stops.
If you’re determined to set your own posts, hire a soils engineer for a simple bearing recommendation and rent a two-man auger. But most homeowners in Los Angeles who call us after a DIY post failure say the same thing: they wish they’d hired the concrete work out and focused on the parts they understood.
The Electrical Licensing Reality in California
California Business and Professions Code Section 7053 is unambiguous: anyone performing electrical work on a structure must hold a C-10 Electrical Contractor license or work under one. This applies to any 120-volt circuit feeding a gate operator. Not a handyman. Not a general B contractor running their own wire. A licensed electrician.
The distinction matters for three reasons: insurance, permits, and liability.
Homeowner’s insurance. If an unlicensed electrical installation causes a fire, your carrier may deny the claim. We’ve reviewed enough loss runs to know that “unpermitted work by unlicensed contractor” is standard exclusion language. A gate operator fire is rare, but a 15-amp circuit with a compromised neutral can energize the gate frame. Someone touches it, someone gets hurt, and the adjuster starts asking for permits.
Resale inspection. Los Angeles County and most incorporated cities require permits for new electrical circuits. When you sell, the buyer’s inspector will flag unpermitted work. You either pull a retroactive permit (expensive, may require opening walls) or credit the buyer. Neither is a winning position.
What the electrician actually does. For a typical residential installation, the electrician runs a dedicated 120V/20A circuit from the panel to a weatherproof outlet or junction box near the operator. They verify grounding integrity, install GFCI protection where required by the 2023 NEC, and leave the landing for the low-voltage control wiring to the gate technician. The gate technician then connects the operator to the supplied power and handles the safety device wiring.
Some operators, particularly older Mighty Mule or Ghost Controls units, are designed for plug-in connection to an existing outdoor outlet. If that outlet is already there, properly installed, and on a dedicated circuit, you may not need new electrical work. But verify the circuit capacity. A 15-amp shared circuit with pool equipment and landscape lighting will trip when the gate operator starts under load.
The bottom line: budget $800 – $1,800 for electrical work in Los Angeles, depending on panel location, trench length, and whether conduit must run under existing hardscape. This is not the place to save money with a handyman and an extension cord.
UL 325 Compliance Is Non-Negotiable
UL 325 is the safety standard for automatic gate operators. It exists because people have been crushed, pinned, and killed by gates. Compliance isn’t a sticker on the box – it’s how the system is installed, tested, and documented.
Here’s what UL 325 requires for residential vehicular gate operators:
- Primary entrapment protection: Photo eyes or safety edges that detect obstruction and reverse or stop the gate. Photo eyes must be mounted no higher than 6 inches above grade to catch low objects.
- Secondary entrapment protection: An additional device, typically an edge sensor on the leading edge of the gate, that triggers if the primary system fails.
- Force limitation: The operator must not exert more than specified force – measured in pounds of pressure – when encountering an obstruction.
- Obstruction test: After installation, the installer must test the system with a solid object (UL specifies a test fixture, but a rigid 6-inch cylinder works) to verify the gate reverses within the required distance and time.
- Warning signs: Placards must be visible on both sides of the gate.
- Manual release: A means to open the gate manually during power failure, operable without tools.
The personal liability issue is real. If a self-installed gate injures a visitor – a delivery driver, a child on a bicycle – and the installation lacks proper entrapment protection, the homeowner faces negligence exposure. We’ve been deposed in two such cases in Los Angeles County. In both, the homeowner had installed the operator using the “it seems to work” standard rather than the UL 325 test protocol.
Professional verification means asking your installer for the UL 325 compliance checklist, signed and dated. Reputable operators from LiftMaster, FAAC, BFT, and Linear ship with this documentation. The installer completes it, tests the system, and leaves a copy with you. If your installer doesn’t know what you’re talking about, you’ve hired the wrong person.
How to Split the Project Scope to Manage Cost
Full professional installation of a driveway gate in Los Angeles typically runs $3,500 – $8,500 depending on gate material, operator type, and site conditions. Splitting the scope can reduce that by 20 – 35% without compromising safety or code compliance. Here’s how to sequence it correctly.
Phase 1: Site Prep and Post Setting (Licensed Contractor or Experienced DIYer with Engineering Input)
Remove old gate and posts if present. Lay out the new opening. Auger or excavate post holes to engineered depth and diameter. Set posts in concrete, plumbed and braced, with hinge plates or j-bolts positioned precisely. Wait seven days minimum for concrete cure. This is the foundation everything else builds on. Rush it and the gate will never hang right.
Phase 2: Electrical (Licensed C-10 Electrician)
Electrician runs power from panel to operator location. Leaves junction box or outlet with proper grounding and GFCI protection. Pulls low-voltage conduit for control wiring if specified in the plan. This phase must complete before the gate technician arrives – no one wants to pay a specialist to wait for an electrician to finish a landing.
Phase 3: Gate Fabrication and Hanging (Gate Specialist or Skilled Welder)
If you’re buying a pre-fabricated gate, this phase shortens. The gate is hung on the cured posts, hinges adjusted for plumb and swing, and the frame checked for racking. For custom gates, this phase includes fabrication, galvanizing or powder coating, and final hanging. A 16-foot gate that sags 2 inches in the center is a hinge or post problem, not a gate problem – but it looks like a gate problem until someone who understands load paths diagnoses it.
Phase 4: Operator Installation and Programming (Gate Specialist)
The operator is mounted, control wiring landed, and safety devices installed and aligned. The technician runs the UL 325 obstruction test, programs limits and force settings, and pairs remotes or keypad codes. They leave you with the compliance checklist, warranty registration, and a written price for any future service.
Phase 5: Hardware and Accessories (Homeowner, if Capable)
Decorative hardware, house numbers, lighting – these are cosmetic and mechanical, not safety-critical. A homeowner with patience and the right tools can handle this without risk.
The critical sequencing rule: never have trades waiting on trades. Confirm concrete cure before calling the electrician. Confirm electrical completion before scheduling the gate technician. We’ve lost count of Los Angeles jobs where poor coordination turned a two-day project into two weeks of rescheduled appointments.
Common Mistakes to Avoid
- Setting posts in dry concrete and adding water from the top. This creates a weak shell around a hollow core. The post will loosen within a year, especially in Los Angeles areas with expansive clay soil like parts of Glendale and La Cañada Flintridge.
- Running 120V power without a permit or licensed electrician. Unpermitted electrical work voids insurance coverage and creates resale headaches. The savings evaporate when you have to open walls for inspection.
- Skipping the UL 325 obstruction test. “It seems to reverse” is not compliance. Use a rigid test object, measure the stopping distance, and document it. Liability courts don’t accept “I thought it was fine.”
- Undersizing the post for the gate weight and wind load. A 4-inch post carrying a 500-pound gate in the Santa Ana wind corridor is a failure waiting to happen. We’ve replaced posts in Porter Ranch where the original installer treated a driveway gate like a garden gate.
- Installing photo eyes above 6 inches or without alignment. High-mounted eyes miss low obstacles – children’s tricycles, pets, delivery dollies. Misaligned eyes create nuisance reversals or, worse, a false sense of protection.
- Using a general handyman for operator installation. Gate operators are not garage door openers with a different bracket. The force settings, limit switches, and safety integration require brand-specific training. A handyman who “does it all” usually doesn’t do this right.
- Ignoring the manual release requirement. Every UL 325 operator must have a manual release operable without tools. If your installer skips it or buries it behind a locked cover, the installation is non-compliant and dangerous during power failure.
When to Call a Professional
Call a gate specialist when the project involves concrete work you haven’t engineered, electrical circuits you aren’t licensed to install, or safety systems you haven’t been trained to test. Call when the gate is custom-fabricated, when the site has slope or drainage complications, or when you need the installation documented for insurance or resale. Gate Installation in Los Angeles requires coordination across trades that most homeowners haven’t managed before.
Carver Gate Repair offers free estimates in Los Angeles – call (469) 530-2485. We’ll walk your site, identify the scope that needs licensed trades, and quote the portions we handle under The Garrison Standard. For more guides & resources on gate repair and installation, visit our blog. Every job gets a written price before work starts, a written guarantee good for a full year, and a background-checked, uniformed technician who shows up in the arrival window. No voicemail, no call-back queues, no moving prices.
Frequently Asked Questions
A standard driveway gate installation in Los Angeles typically ranges from $3,500 to $8,500, with gate motor replacement alone running $1,200 – $2,800 depending on operator brand and site wiring condition. Splitting the project – handling hardware yourself while hiring out posts and electrical – can reduce total cost by 20 – 35%. Call (469) 530-2485 for a written estimate on your specific site; estimates are free and the price we quote is the price you pay.
You can install a plug-in operator on an existing properly grounded outlet, but any new 120V circuit requires a California C-10 licensed electrician. Beyond the electrical, UL 325 requires a documented obstruction test that most homeowners haven’t performed. The operator installation itself is manageable; the compliance documentation and liability protection are why professionals exist. If you proceed alone, download the UL 325 checklist from the operator manufacturer and complete every test with a witness.
New electrical circuits require permits in Los Angeles County and all incorporated cities. Structural work – new posts set in concrete – may require a permit depending on gate height and location (corner lots, hillside zones, and historic districts face additional scrutiny). Check with your local building department before starting. Unpermitted work must be disclosed in a real estate transaction and may require retroactive permitting at greater expense.
LiftMaster dominates the residential market in Los Angeles, with strong presence from FAAC and BFT in higher-end installations. Linear, Viking, and Ghost Controls appear frequently in specific architectural styles or builder packages. Mighty Mule is common in entry-level DIY installations, though we see higher service-call rates on that brand after the two-year mark. Our technicians train on all nine major brands so we service what’s already installed rather than pushing replacement.
Minimum 36 inches below grade for residential driveway gates, but depth alone isn’t enough. Diameter, concrete mix, and soil bearing capacity matter equally. In sandy coastal zones like Playa del Rey, we go deeper with wider footings. In clay-heavy areas like parts of the San Fernando Valley, we account for seasonal expansion by using drainage rock at the base and avoiding smooth-sided posts that slip when soil shrinks. A soils engineer can specify for your site for a few hundred dollars.
You’ll face three options: pull a retroactive permit (may require opening work to prove compliance), credit the buyer for estimated remediation cost, or reduce sale price. Retroactive permits in Los Angeles often cost more than original permitted work because inspectors can’t verify concealed installation details without destructive investigation. The cheapest path is doing it permitted the first time.
The Bottom Line
Gate installation rewards clear-eyed self-assessment. The homeowner who can hang a level, read a manual, and follow a wiring diagram can handle surface hardware, programming, and accessory installation safely. The same homeowner who pours dry concrete, runs unpermitted 120V circuits, or skips the UL 325 obstruction test is building a problem that costs more to fix than professional installation would have. In Los Angeles, with its permit requirements, wind loads, and insurance scrutiny, the smart split is usually: hire out posts and electrical, manage hardware and programming yourself, and never compromise on safety compliance. The Garrison Standard exists because we’ve seen what happens when corners get cut – and we’ve built our operation to eliminate those corners entirely.
Carver Gate Repair home | Gate Repair in Los Angeles | Gate Motor Repair in Los Angeles
Written by Lonnie Burke, Owner at Carver Gate Repair, serving Los Angeles since 2008.